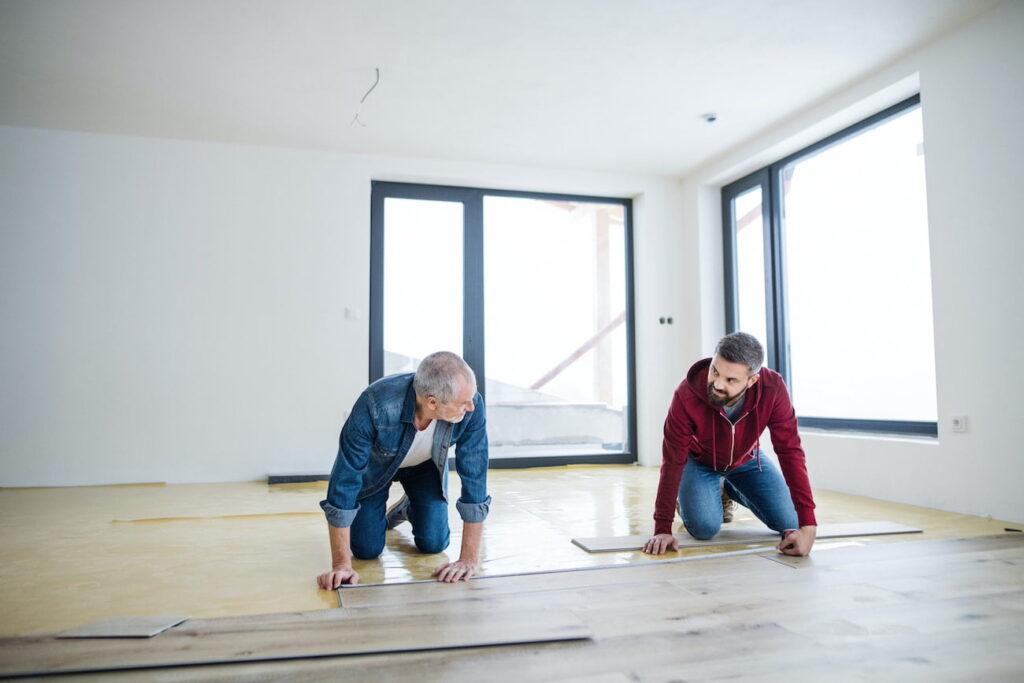
When it comes to cut down the budget in flooring installation, one of the best way you can try is being the skillful DIYer for your laminate flooring installation. In fact, many people start installing their own laminate flooring so that they can cut down the budget for hiring an expert.
Is it easy to install the laminate flooring?
Based on some home owner’s experiences, it is extremely easy and quick to install the laminate flooring by themselves.
In order to have a complete picture on how to install the laminate flooring, here are the things you need to check out dealing with the laminate installation.

Installing Laminate Flooring
There are several things to consider if you really want to work out the process of installing the laminate flooring.
First, make sure you know what to prepare including the tools and materials used for laminate flooring installation.
Second, make sure the subfloor is very clean without any dirt or dust which may not be good for laminate installation.
Third, measure the areas well to enable you have the accurate measurement to cut the laminate flooring into pieces.
Fourth, consider the finishing.
Laminate Flooring Installation Types
There are various types of laminate flooring installation you can choose depending on the laminate flooring types and areas. So you must know well what laminate kinds of laminate flooring you are going to install and how is the subfloor.
Afterwards, you can choose which installation types that would be best suitable for your laminate flooring.
In this regards, there are four laminate flooring installation types you can read on the following review sections.
Glue
The first type of laminate flooring installation is by gluing down the laminate joints together.
Once the laminate flooring is installed by this installation type, the flooring would be very strong and solid. It appears to be a very durable flooring since the glue has tightened up the laminate strongly.
However, you may spend higher and consume more time in gluing down the laminate flooring.
Glue-less Laminate Flooring Installation

If you are install tiles or planks laminate flooring, you will apply the glue-less installation type. Thus, you must use the right technique of attaching the laminate to the floors.
In today’s home design, glue-less laminate flooring installation type is popular with its easy and quick installation process.
Read Also: Best Vinyl Flooring Brands To Transform Your Rooms Into Incredible Interior
Pre-Glued Laminate Flooring installation
Pre-glued laminate flooring installation is the second installation type of laminate flooring you can apply on your subfloor.
Instead of applying the glue separately, a certain type of plank laminate flooring has already had glue applied.
So you can easily snap the planks into the floor.

Due to fact that activating the glue requiring the edges to be dampened, you must carefully pay attention to the installation instructions.
Avoid making a mess to the flooring because the glue is already attach to the tongue and groove. In short, pre-glued installation type is considered easy and quick.
Underlay
Underlay is one of the glue-less installation types since the planks have already included underlayment. All you need to do is just snapping the planks into places.
There have also been the tongue and grooves locking systems available to help reduce the noise level.
Best Underlayment For Laminate Flooring
If you want a good process of laminate flooring installation, make sure you choose the best underlayment for laminate flooring. The better quality of underlayment, the stronger and more solid flooring you are going to have.
In this case, there are three kinds of underlayment which are considered best for installing the laminate flooring. Those are the standard foam underlayment, the combination foam underlayment and the cork underlayment.
Standard Foam Underlayment
The standard foam of underlayment has only a thin layer that is cushioning between the subfloor and the laminate flooring. This kind of underlayment is widely used especially over a plywood or OSB subfloor.
However, this foam must avoid the high-moisture areas because there is no vapor barrier characteristics.
Combination Foam Underlayment
The combination foam underlayment combines the standard foam with the barrier of vapor layer to protect the installation from any moisture.
It can be slightly more expensive than the standard one because it is appropriate not only for plywood or USB floor but also for concrete subfloors.
This combination foam underlayment is much recommended to use in moist areas such as bathrooms and basements.
Cork Underlayment
The cork underlayment, which is the third best underlayment, offers noise reduction. It is one of the most expensive underlayment which contributes to the laminate flooring installation cost.
Cork underlayment doesn’t have a layer cushioning the laminate and subfloor. So it is better to use for surfaces between the rooms.
Luckily, this crock underlayment contains natural antimicrobial characteristics, making it save for pets and children.
Installing Underlayment for Laminate Flooring
Installing underlayment for laminate flooring is a part of laminate flooring installation. Prior to installing the laminate flooring, the one important step is to install the underlayment.
Here are the steps to follow:
- Unroll the underlayment
There is a plastic strip on an end of underlayment that goes along and up to the wall in order that it would cover the baseboard.
The other end of underlayment has adhesive tape strip. If you unroll the underlayment, the clear plastic strip will meet the adhesive tape strip along with the two white foam pieces.
- Run the underlayment from the first sheet just near the longest wall in your room. Then, run the plastic strips up to 4 inch up the wall.
- Cover the floor by peeling it back out of the adhesive tape on the first sheet and soft plastic on the second sheet and down to the first sheet tape
Repeat this process around the space in your room so that all the floor is covered. Make sure there is only a small gap between the underlayment and the wall.
- Remove the excess underlayment
This way, you can use a razor knife to remove the excess underlayment around the vents and corners.
- Cut the boards both on the long side and short side when you are installing the boards in the corners.
- Put in the spacers when you are installing the boards around the opening area of a door.
- This is aimed to find out how much longer the board against the door compared to the board in front of the door.
- Protect the face of the board at all times.
- Use a shorter piece in starting the second row laminate flooring installation.
- Install the planks to the places using the pull bar.
- Stagger the joints of each row of planks to get a natural look.
- Slide the planks into place which is up to the wall and put the spacers back in their place to keep the gap.
How To Install Laminate Flooring For Beginners
So you are just a beginner while you want to install the laminate flooring for your lovely home, worry no more.
Follow these simple steps on how to install laminate flooring for beginner:
- Remove the tongue especially on the plank’s long side and short side joints. This way, you may use a table saw.
- Trace and cut the plank using a jigsaw.
- Assemble the first row using the tongue side from the wall. Make sure the planks are aligned and joints are closed.
- Provide a space for possible expansion. You can surely use wooden spacers.
- Cut the new row. You can definitely use pieces trimmed out of the previous row.
- Assemble the second row of the plank and make sure the laminate edges meet. Make sure the joints are locked by rotating the plank down.
- Check whether or not there is a gap after the joints are closed.
- Install the last row and remove the spacers after all the rows are installed.
- Apply sealant to the whole perimeter to make a watertight seal. This way, you can flexibly use a 100 percent silicone sealant.
Read Also: Vinyl Flooring Reviews: What You Need to Know About It
How Much To Install The Laminate Flooring
If you are not so sure about being able to install the laminate flooring by yourself, you can hire an expert to help you for the laminate flooring installation.
Or though you may be a true DIYer but not an expert, hiring an expert can be one of the best option to pick up if you want to have a solid construction of laminate flooring.
Thus, predicting how much to install the laminate flooring is important prior to hiring an expert. It is aimed that you can make an accurate budget estimation of your laminate flooring installation.
Generally, the laminate flooring installation cost starts form $3 to $8 per square foot including both the labor and materials. Your final price will be much depend on your floor’s size, selected materials, and labor costs.
However, the average laminate installation cost is between $1,411 and $3,395 for a professional laminate flooring installation.
Now you can make your own prediction how much to spend to install your laminate flooring for your home.